Fit, dimensions & layout
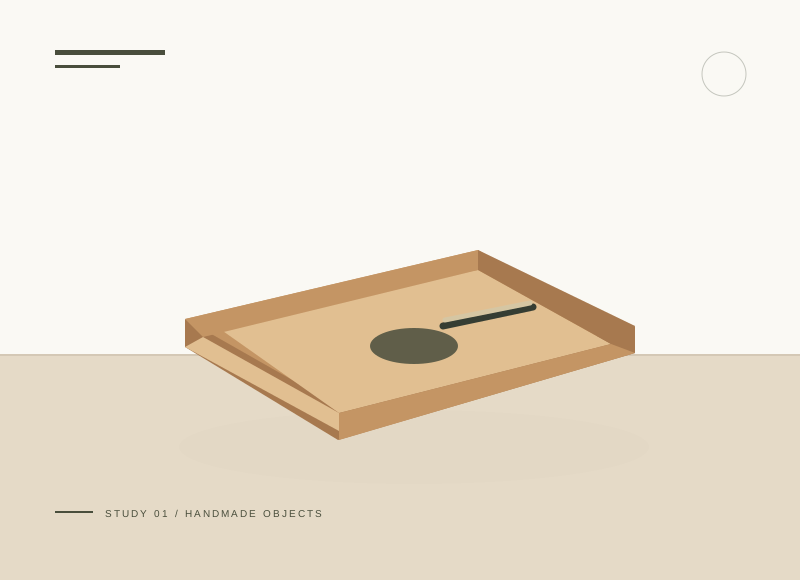
Use one wood strip for a direct bare-versus-painted comparison. Mark a center division at 90 mm along the 180 mm length, keeping both halves prepared in the same way. Label the reverse before opening paint. This is a first sample exercise: a crisp boundary and a complete product record matter more than adding several colors.
The illustration is a concept, not a scale drawing or a record of a tested build. Use a full-size template or dry fit to check the written layout with your actual materials.
Gather your materials
Tools to have nearby
Choose materials deliberately
Make it, step by step
Prepare evenly
Use one preparation sequence across the whole strip and label its reverse.
Divide the sample
Mask a straight line, leaving one half bare.
Check before moving onMeasure the midpoint from one reference end and wrap the masking line square across the edges if they will also be coated.
Apply thin coats
Follow the paint instructions and avoid a heavy ridge at the tape.
Remove masking
Use the product guidance for timing and pull carefully to protect the fibers.
Review after cure
Compare in the intended room and keep the labeled strip for later choices.
Check before moving onWrite down where you viewed the sample and the result, so a future comparison uses similar conditions.
Troubleshoot this project
Why is the border fuzzy?
What to check. Paint may have entered under the tape or the wood may have loose fibers.
Next move. Test tape contact and lighter paint loading on scrap before repeating the sample.
Why does the painted half look different in the room?
What to check. Lighting and nearby colors can change its appearance.
Next move. Keep the physical strip and compare it beside the intended objects after full cure.
The final check
The edge is clean and the product is recorded underneath.
A broader sample is more informative than a tiny color chip.
Record your actual sizes, material changes, and the result of your fit check in your project notebook. Keep the product name with any finish or adhesive sample.
Use a stable work surface and tools within your experience. Follow the exact tool and product instructions for preparation, dust control, ventilation, and cure. These decorative concepts have no structural load rating. Stop if the material or existing finish cannot be identified.