Fit, dimensions & layout
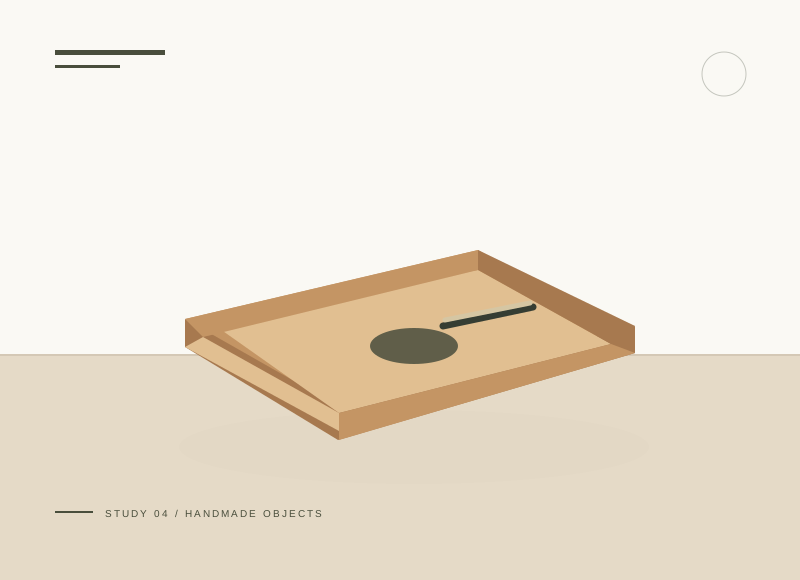
The 18 mm strips sit on top of the 6 mm base, giving 24 mm overall height. With 6 mm rims, the opening is 188 × 108 mm. For actual rim thickness t, the short sides are 120 − 2t mm long. This first exercise is about understanding the joint layout; sketch the four walls over the base before committing to a cut list.
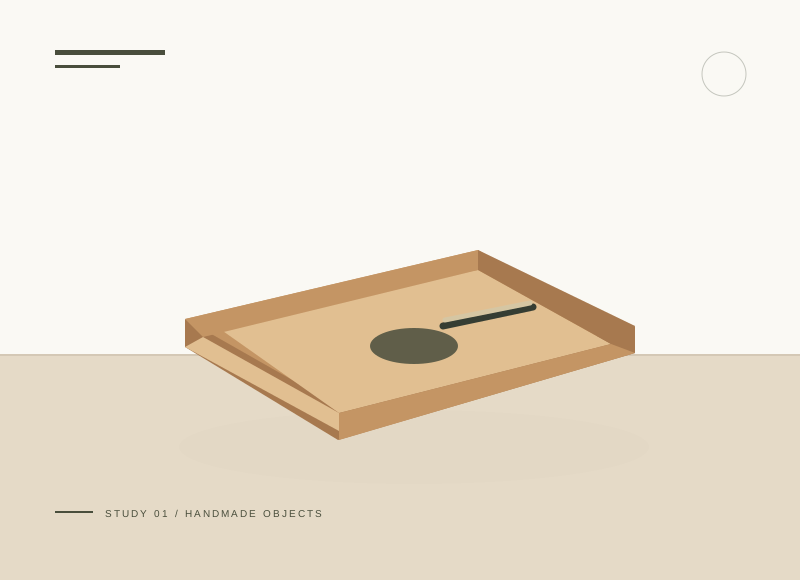
The illustration is a concept, not a scale drawing or a record of a tested build. Use a full-size template or dry fit to check the written layout with your actual materials.
Gather your materials
Tools to have nearby
Choose materials deliberately
Make it, step by step
Read the dimensions
The 18 mm rim sits above the 6 mm base. Short strips fit between long ones.
Dry-fit every piece
Set all four strips on the base and adjust for actual material thickness.
Check before moving onPut removable labels on all five pieces and assemble the entire tray once without adhesive.
Glue long sides
Spread a thin layer on the lower edges and clamp flush with the base.
Add short sides
Fit between the long strips and check the corners remain square.
Check before moving onCheck short sides at both ends before tightening clamps so one end is not pulled in farther than the other.
Cure and smooth
Wait for full cure and soften exposed corners. Use for lightweight indoor items.
Troubleshoot this project
Why are the short sides too long?
What to check. The rim may be thicker than 6 mm or the short-side formula may not have been used.
Next move. Measure both long strips and recalculate the remaining clear width before trimming.
Why are corner heights uneven?
What to check. One strip may not sit fully on the base or strip widths may vary.
Next move. Check the dry assembly from the side and match rim heights before gluing.
The final check
The tray rests flat and joints stay closed during gentle handling.
Label the parts on masking tape and remove each label during assembly.
Record your actual sizes, material changes, and the result of your fit check in your project notebook. Keep the product name with any finish or adhesive sample.
Use a stable work surface and tools within your experience. Follow the exact tool and product instructions for preparation, dust control, ventilation, and cure. These decorative concepts have no structural load rating. Stop if the material or existing finish cannot be identified.