Fit, dimensions & layout
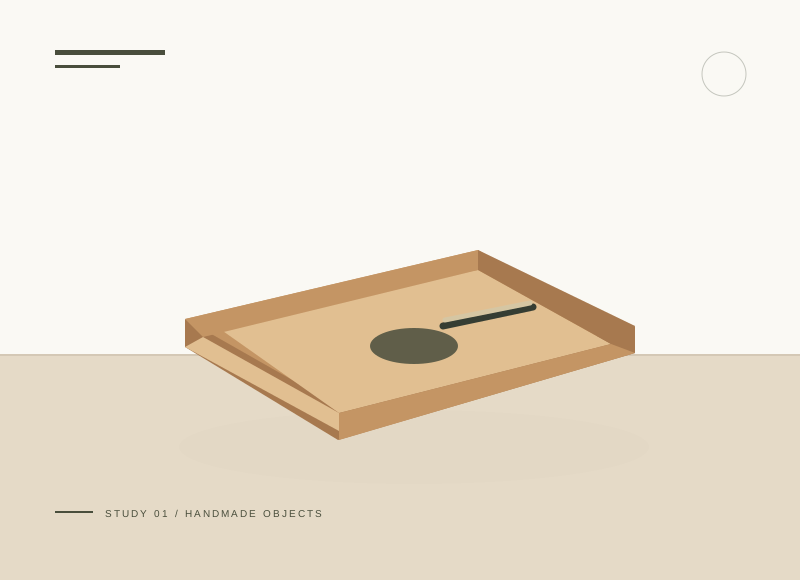
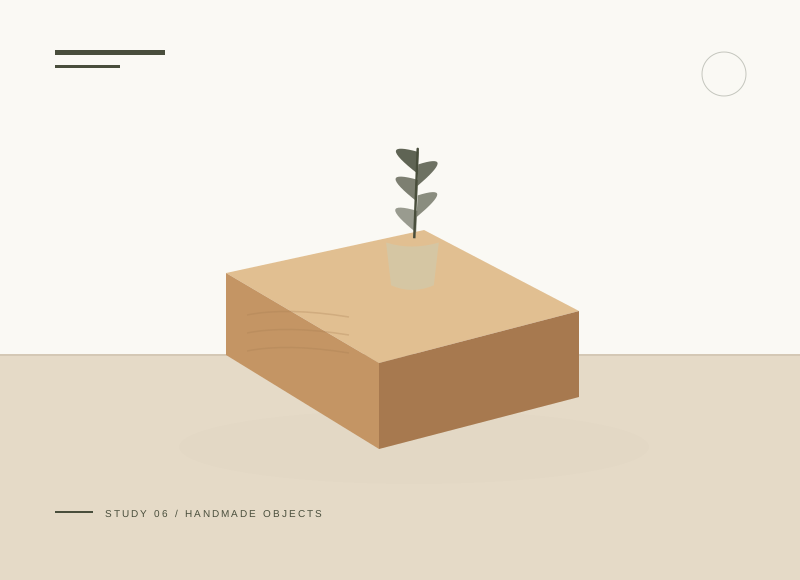
The 120 × 120 × 18 mm block is a finishing exercise rather than a small furniture build. Place the proposed object on a 120 mm paper square and check its footprint before buying the blank. Keep both large faces flat. Equal-thickness pads need fully supported positions near the underside corners without protruding beyond them.
The illustration is a concept, not a scale drawing or a record of a tested build. Use a full-size template or dry fit to check the written layout with your actual materials.
Gather your materials
Tools to have nearby
Choose materials deliberately
Make it, step by step
Choose a flat blank
Check on a level surface and reject splits, loose knots, and twist.
Mark the underside
Choose the best top face and mark the reverse.
Ease the perimeter
Soften upper edges lightly without rounding broad faces.
Check before moving onKeep the sanding block on the edge being softened, avoiding repeated passes that hollow or round the display face.
Finish consistently
Follow coating and cure instructions, testing the color on scrap first.
Add felt and place
Use matched pads and an object that fits the footprint. Keep the whole display on a stable surface.
Check before moving onPosition the finished arrangement away from an edge and test ordinary gentle handling over a clear surface.
Troubleshoot this project
Why does the object rock on top?
What to check. The block may have been rounded during sanding or the object base may be uneven.
Next move. Check each separately on a known flat surface before altering the display.
Why is the platform tilted?
What to check. Pads may have unequal thickness or one may overlap a rough patch.
Next move. Inspect the underside and replace the pad set consistently rather than stacking individual corners.
The final check
The base and displayed object sit securely without overhanging weight.
Simple proportions and smooth edges can make a plain object feel considered.
Record your actual sizes, material changes, and the result of your fit check in your project notebook. Keep the product name with any finish or adhesive sample.
Use a stable work surface and tools within your experience. Follow the exact tool and product instructions for preparation, dust control, ventilation, and cure. These decorative concepts have no structural load rating. Stop if the material or existing finish cannot be identified.