Fit, dimensions & layout
Use a purchased thin flexible bookmark blank rather than attempting to slice veneer from thick scrap. Check how it lies inside a disposable or ordinary test book before decorating. Keep raised details, thick knots, and protruding hardware off the portion between pages. Inspect the edges in angled light because a small loose fiber can catch paper.
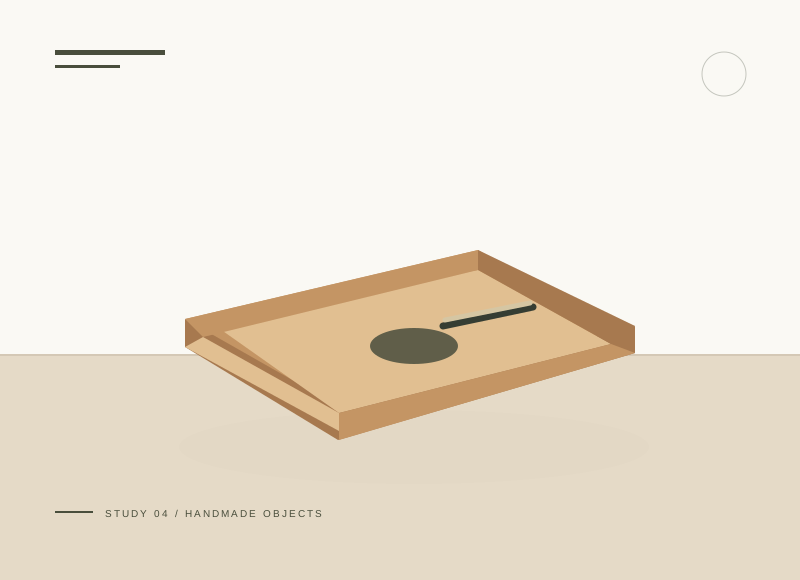
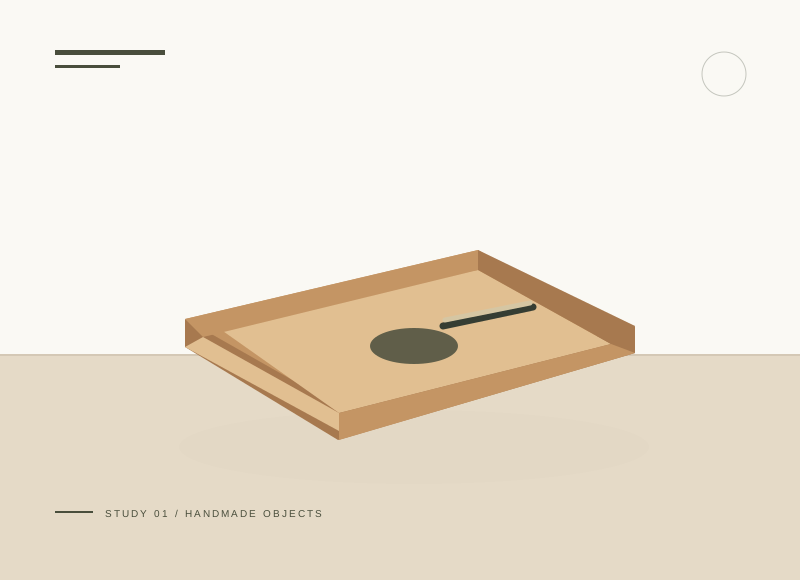
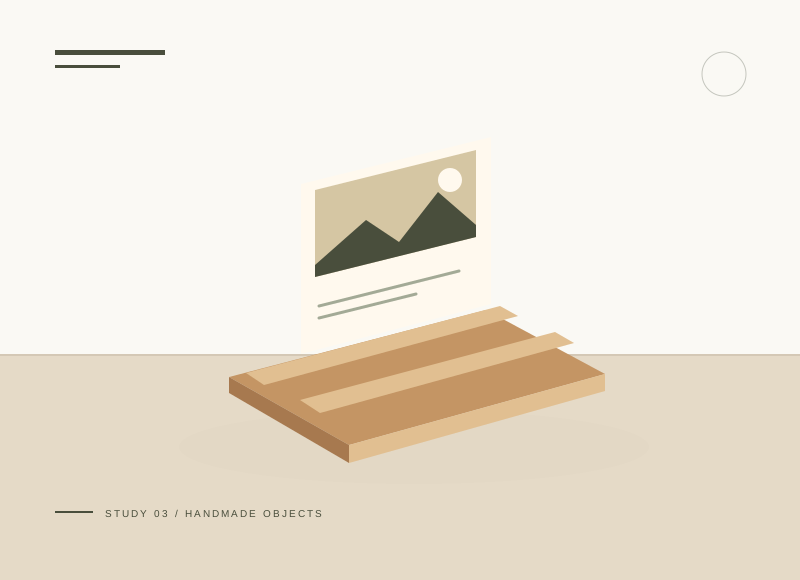
The illustration is a concept, not a scale drawing or a record of a tested build. Use a full-size template or dry fit to check the written layout with your actual materials.
Gather your materials
Tools to have nearby
Choose materials deliberately
Make it, step by step
Inspect the blank
Choose flexible veneer without splitting. Thick rigid wood can damage a book.
Soften the edges
Support the blank flat and sand gently along the perimeter.
Check before moving onSupport the full blank on a flat surface while smoothing an edge, rather than flexing it between your fingers.
Add a detail
Place an initial near the top while keeping the center smooth.
Sample any finish
Test matching scrap and follow full cure instructions before paper contact.
Try a test book
Check roughness, transfer, and thickness before placing in a valued book.
Check before moving onOpen and close the test book gently and inspect the paper on both sides of the bookmark.
Troubleshoot this project
Why is the veneer splitting along its length?
What to check. The blank may have a weak grain line or have been bent too sharply.
Next move. Replace the damaged blank and avoid forcing a crease; adhesive decoration will not reliably restore a split bookmark.
Why does a page show a mark?
What to check. A finish or drawing material may transfer, or the blank may still have rough fibers.
Next move. Stop using it in books, test materials on scrap, and inspect edges before trying another sample.
The final check
The bookmark has no sharp fibers and does not mark a test page.
A pre-cut blank avoids the difficult task of producing thin veneer yourself.
Record your actual sizes, material changes, and the result of your fit check in your project notebook. Keep the product name with any finish or adhesive sample.
Use a stable work surface and tools within your experience. Follow the exact tool and product instructions for preparation, dust control, ventilation, and cure. These decorative concepts have no structural load rating. Stop if the material or existing finish cannot be identified.