Fit, dimensions & layout
Choose a sound ready-made unfinished tray before selecting its decoration. The purchased blank supplies all structural joints. Place a paper template inside, mark the front and any rounded corners, then reduce it just enough to drop in freely. Wait until the coating is fully ready before finalizing liner fit; dust and tackiness can become trapped under felt.
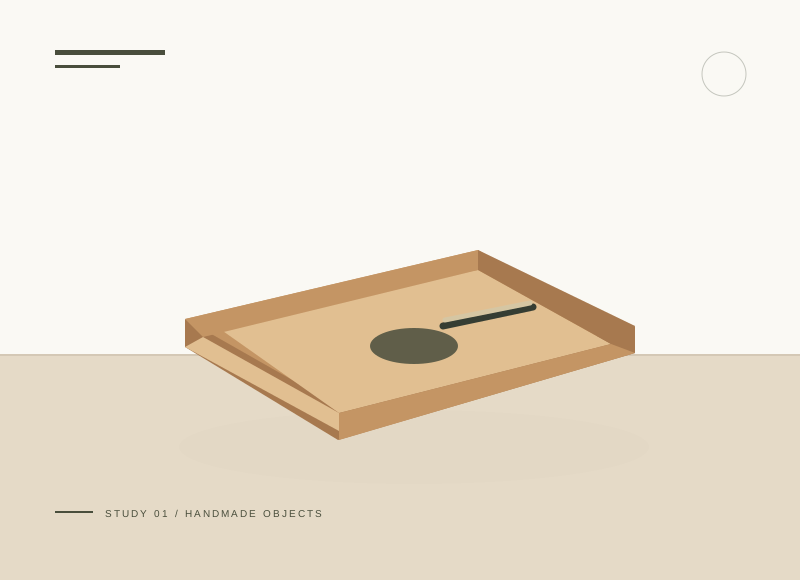
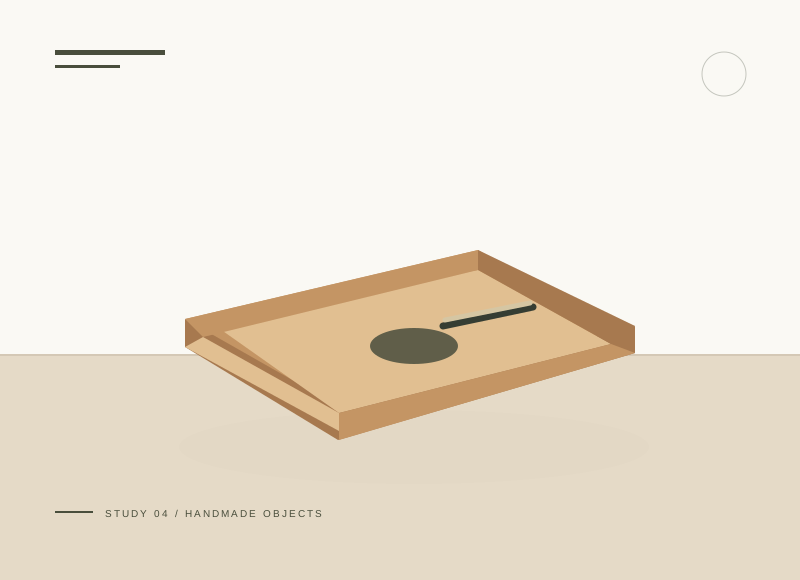
The illustration is a concept, not a scale drawing or a record of a tested build. Use a full-size template or dry fit to check the written layout with your actual materials.
Gather your materials
Tools to have nearby
Choose materials deliberately
Make it, step by step
Inspect the tray
Check the rim, base, and joints before decorating a purchased blank.
Smooth rough areas
Sand lightly with the grain and remove dust while keeping the base level.
Check before moving onUse a light touch on rough areas and preserve the factory joint shape; this project is not a joint-repair exercise.
Make a template
Fit paper to the inner floor with a small edge clearance.
Finish if desired
Follow the coating instructions and full cure time before lining.
Fit loose felt
Cut from the template and lay inside without adhesive. Use for small indoor objects.
Check before moving onLeave the insert loose so you can lift it out and inspect the surface underneath.
Troubleshoot this project
Why does the liner ride up a side?
What to check. It may be too large or the tray corners more rounded than the template.
Next move. Trim the paper first and transfer the corrected shape to fresh felt.
Why do keys catch a rough edge?
What to check. The purchased rim may still have a raised fiber or damaged joint.
Next move. Inspect the blank before finishing and replace a damaged tray rather than covering the defect with fabric.
The final check
The liner lies flat and the tray does not rock.
A purchased blank is a good place to learn preparation and accurate fitting.
Record your actual sizes, material changes, and the result of your fit check in your project notebook. Keep the product name with any finish or adhesive sample.
Use a stable work surface and tools within your experience. Follow the exact tool and product instructions for preparation, dust control, ventilation, and cure. These decorative concepts have no structural load rating. Stop if the material or existing finish cannot be identified.