Fit, dimensions & layout
The 140 × 60 mm base is intentionally compact. Two 15 mm-wide rails with a 2 mm gap occupy 32 mm, leaving 28 mm total across the front and back margins. Use the actual print to choose a slot and check its balance on a dry mock-up. This beginner version keeps the rails simple and uses a postcard-sized print as the starting limit.
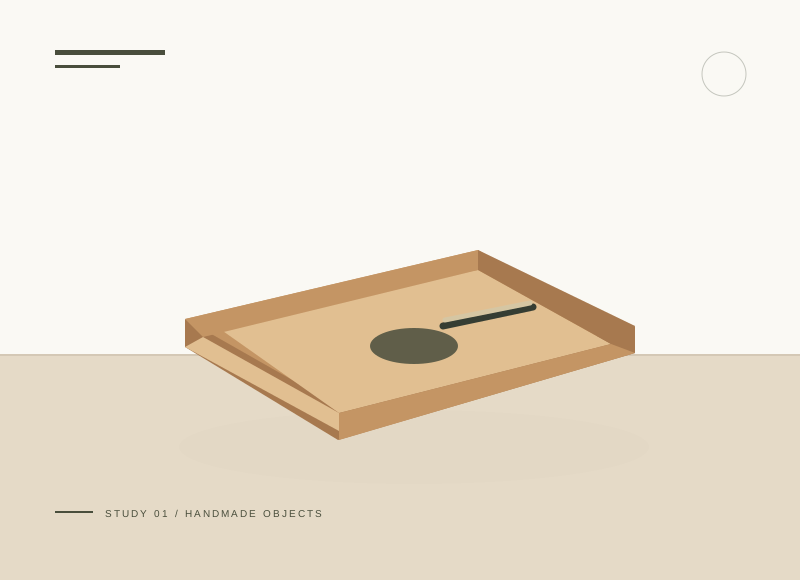
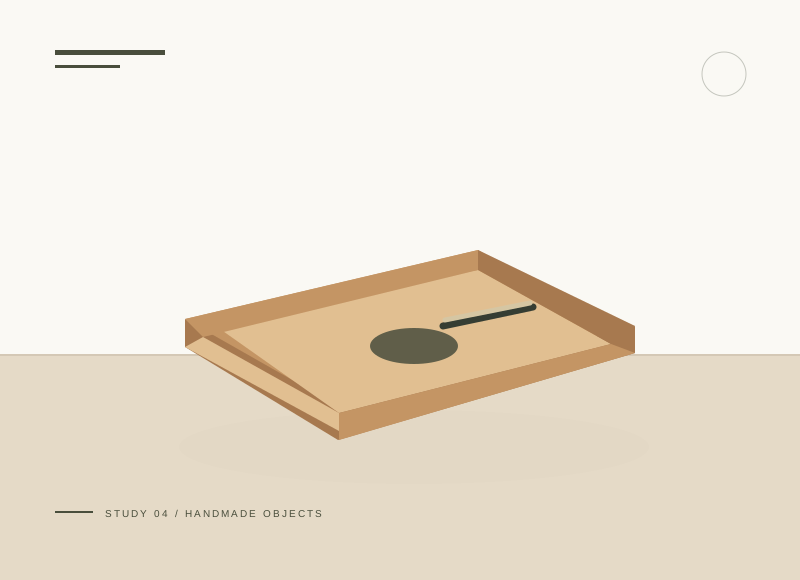
The illustration is a concept, not a scale drawing or a record of a tested build. Use a full-size template or dry fit to check the written layout with your actual materials.
Gather your materials
Tools to have nearby
Choose materials deliberately
Make it, step by step
Test the print
Start with a 2 mm gap and check the actual card stock before assembly.
Check before moving onCut a card mock-up of the intended print size and test the balance without using a valued photograph.
Place the rails
Center both on the base and mark parallel lines.
Attach the first
Glue and clamp one rail carefully on its line.
Space the second
Fit the second rail using the removable spacer and take the spacer out before glue sets.
Check before moving onRemove temporary spacers before the glue sets, then inspect the gap from both ends.
Cure and display
Wait for cure, soften edges, and test a lightweight postcard on a level shelf.
Troubleshoot this project
Why is the photograph bent at its lower edge?
What to check. The slot may be narrower than the card thickness or have rough glue residue.
Next move. Use an expendable print, clear the dry slot only by an appropriate method, and remake an undersized gap.
Why are front margins uneven?
What to check. The first rail may not have been marked parallel to the edge.
Next move. Mark at both ends and check the second rail with two equal spacers during the dry fit.
The final check
The holder stays upright and the print is not crushed.
A large print can tip a small holder, so begin with postcard dimensions.
Record your actual sizes, material changes, and the result of your fit check in your project notebook. Keep the product name with any finish or adhesive sample.
Use a stable work surface and tools within your experience. Follow the exact tool and product instructions for preparation, dust control, ventilation, and cure. These decorative concepts have no structural load rating. Stop if the material or existing finish cannot be identified.